Saturday, 5 February 2011

Standing on ceremony

I have been a bit tardy with the whole blog thing recently, but that is mainly because I have been organising a wedding.

Actually, I say that loosely because I haven't actually be organising a wedding, I've been answering emails to a person who is organising my wedding for me whilst trying to stop other people attempting to out-organise my wedding organiser. Quite frankly, if I had my way, we'd have run off somewhere ourselves and just told everyone when we got back - but the risk of the wrath of family was too much to bear (I started this blog after the "curious incident of the graduating in absentia fail" but you get the general idea).

As far as I could see it though, the easiest way to avoid full on veil-fail was to go abroad. This has several advantages as far as I could see - I don't have to invite people I don't like, I don't have to have an after party and I don't have to give a damn about chair covers and table scatter. In fact, I don't have to do anything because a lovely lady in another country is doing it all for me.

Given that OH proposed in front of a glacier in Iceland, we've chosen somewhere equally freezing to get married; an ice castle in Finland. This rather handily solves a lot of problems for us - in particular not having to worry about anything other than just turning up and trying not to freeze to death. A lot of the traditional things simply just go out the window; which is great for someone like me who really doesn't like to do things because other people think I should and likes even less doing things with such horrible roots just because the meanings have been lost over time. But there was a problem - OH proposed at the end of September and the ice castle only has a short season, so we either winged it and did all the planning in a couple of months or waited until next year.

As far as I can see, planning a wedding doesn't actually involve as much effort as people seem to think it does. Venue - done within a couple of emails, food - checklist with the venue, guest list - as short as possible, dress - that is what the internet is for and the rest of it was just a case of talking nicely to the make-up lady in debenhams and going to the outdoor shop in search of ski gear we could fit under a dress and a suit. All of the sundry bits came from folksy and etsy.

But then there is the issue of the flowers. I wasn't actually going to bother with flowers because it will be minus five inside the venue, but when I was sorting through my craft box, I found some wonderful old glass vintage buttons and combined with some lovely plastic flowers I bought from folksy, a frost-free flower bunch resulted.


Twisting the beads, buttons, broken jewellery and flowers together allows me to build up sprays. The wires are paper coated cake wires and just came out of my sugarcraft box.


Carrying on allows layers and layers of stuff to be wired together.


Eventually it gets to this stage and the shape starts to appear. I was aiming for a teardrop shaped bunch rather than a round one.


Further building up of beads and buttons, then sealing the sprays in with white waxed florists tape gives something that looks like this. I've made a matching buttonhole for OH using the same sort of technique. I think I'll ditch the snowflake ribbon though.


Wrapping the handle with white yarn to soften it a bit and make it easier to hold...


Then with lace to cover the yarn. I bought this back from a fabric market in Korea orginally.


Brightening up the handle...


And all finished. I won't be throwing it though, it weighs over half a kilo.


Huge thank you to these folksy people, whose shops I raided for beads and the like to help finish this project: Destash by SimJaTa

Friday, 21 January 2011

Travel files - Iceland (Reykjavík to Jökulsárlón)

I was just sorting through my files when I came across some of my travel snaps from last september. I fully admit I'm a dreadful photographer, but just sometimes the scenery does all the work for you.


I could live in Iceland, I really could. It's amazing.

Friday, 31 December 2010

Secret santa - take two

We're doing a secret santa on folksy as well and I've been itching to post this make for ages, but I didn't want to risk my victim finding out it was me - so I decided to wait a little while until we did the reveal.

Swapping is all well and good, but I have a shop full of plastic cupcakes and as much as I enjoy kawaii crafts, I wouldn't actually wear any of it myself as it simply doesn't suit me. I'm always quite mindful of this when swapping as I worry my swap partners wouldn't wear it either as it's quite a niche craft, so I tend to try and go for something a little different if it's a suprise gift.

My secret santa partner from folksy this year is the super-mega talented Tanya from Bluebutton and Bluebuttonbride; who makes, amongst other things the most gorgeous button bouquets. Her work is quite simply stunning and appeals to my love of bright colours, simple shapes and non-fluffy things. I've decided therefore to go for something unfussy and simple and actually make some jewellery for a change. Earrings are out, as I don't know if she has her ears pierced, so it looks like a necklace will be the way forward.

I'm not going to pretend that this is the first attempt I've had with metal clay and I should probably admit I have done a silversmithing course in the past too before I start.

This is 1 mm thick half-hard sterling silver wire, which I've cut into several short lengths. I like half-hard wire as it behaves itself when you are trying to bend it, but isn't too soft to get bent randomly.


This is PMC slip, a suspension of PMC in water. It's like a thick paste and I find it quite nice for painting on things like flowers as you can burn away the core to leave the fine silver metal shape. I rather like it as a medium because of the way that it flows. Most of the time, you'd use it to repair cracks and stick things together, but I find it useful as a material in its own right.


I'm just dipping the ends of my bits of wire into the slip so I get a blob on the end, then allowing it to drip down to form a more organic shape. I want it to look a little like unopened flower buds or snowdrops, so I'm rotating it a little as it dries off so it form almost petal-like ripples. Once the first layer has dried off a little bit, I can repeat the process to build up a bit more slip, then leave it to dry again.


I like to leave it to dry off a little bit before I fire it anyway, so I've just stuck the ends in blu-tack to support it and left it overnight.


I find this stuff actually fires fine on the gas ring of the cooker. Please remember to protect your hands if you want to do this.


Curling the end around a cocktail stick and putting a soft curve into the wires provides me with four little irregular silver buds.


After firing, I can use a polishing wheel and an engraving tool to burr out any remaining bits of crispy matrix and lift off the firing marks. In this case, I've chosen a course polishing wheel and have continued up the wires to texture both the petals and the stems. This serves to smooth out the join between the metal slip and the wire and make the whole piece look a little more continuous. The coarse polishing wheels leave a more intresting textured finish as well rather than a high shine, which I quite like. Working the wheels round the buds allows me to open up some of the waves in the fired slip so the whole thing looks a bit more organic. Fired PMC behaves like the metal of a similar thickness would, so it's quite mallable and amenable to being poked around. I strung the buds onto a slightly oxidised silver snake chain for a bit of contrast.

And finished :) I apologise for the naff lighting again, it's really late!


I packed this up in a black cardboard box, then packed the whole thing into a larger box stuffed with organza and some buttons insted of packing material as I know the recipent would be able to find a use for them (and it would making pre-Christmas guessing hard!).

Thursday, 9 December 2010

Secret santa

We are doing a secret santa at work. We don't normally, mainly because my boss thinks it's a pants idea, but after a lot of persuasion, he agreed. Only I was in Germany when they dished out the names so I only found out about this on Monday. And it has to be done by tomorrow.

I have one of our undergraduate project students - so I can't torture them too much. Actually, I could have but I didn't have time to have a t-shirt printed with "If the North is so great, why are you here?" or "I love Thatcher" - both of which he would have found beyond offensive.

So it's into the craft stash for a quick throw together.

I have this box that I liberated from the recyling at work. It used to have my hot air gun in it.


I had actually attempted to paint it red, but I didn't actually have enough red paint to finish the job properly.


The box also has an insert, which I am going to leave in place though to help hold the contents where I want them.


I've just loosely tucked a piece of tied-dyed cotton over the insert, put it back in the box, then cut an opening in the front of it.


Because the painting didn't work, I've covered it red wrapping paper.


Then cutting through it to reveal the opening I made before wrapping, tucking the loose paper underneath and adding some die-cut lettering.


Fill with an assortment of scary alcoholic things and some sweets, then inserting a piece of clear overhead projector film over the opening gives the final product.


Hopefully it will make him smile tomorrow morning.

Sunday, 28 November 2010

Simple things...

I have been searching for stamps with snowflakes on for a long time (mainly for stamping wedding things, but also for stamping OH's forehead when he's asleep), then I came across these in Muji a couple of weeks back.


It was in fact - one of the highlights of my trip to London - having watched a crazy opera I didn't understand (talking dogs, Soviets and ermm... testicles?) and wandered aimlessly round Camden market looking for a dress.

I did my degree in London (and it wasn't even that long ago) but I remember Camden market being a bit more arty than it is now. I think I must have seen the same t-shirts on fifteen different stalls. Even the goth shops are full of plastic and shoelaces rather than the velvet and ribbons I remember. Noone uses nice fabric anymore.

So I spent a few minutes this afternoon decorating my folksy envelopes, because we don't have snow in Oxford - just coldness. It's a simple thing, but it made me smile.


Especially this one...


because it looks like a virus...

Saturday, 13 November 2010

Build a baby burger

I love Japanese craft kits. These are my latest acquistions from Etsy. The red one is a fast food play dough moulding kit and the blue one is an ice-cream eraser kit, both of which are really quite fun and quite unlike anything you can find easily in the UK. Well, as I'm a bit too old for play dough, I figured that there must be some other use for these really lovely little moulds.


Recently I've been making large quantities of Christmas sugar cookies. The reciepe I use is a fairly simple one - just 100 g of icing sugar to 300 g of plain flour with 200 g of butter rubbed in, cling film the dough and bung it in the fridge for 30min - then baked for 10 min at 180 degrees after shaping.


I like this recipe as the cookies don't spread so they work well with tiny cutters and don't create the "one big sheet of cookie" problem.


I can press some of my cookie dough into the mould - it helps if you put a layer of clingfilm between the dough and the mould so you can flip the finished shape out easily. Burger bottoms...


I can knead a little bit of cocoa powder into some of the dough to colour it...


...and make the patties using the other part of the mould.


Buns, bottoms and patties all ready to bake.


They look a bit dull like this, so I've just coloured some marizipan yellow...


...and made a cheese slice.


Doing the same with green, to make some lettuce.


Building up to give the final product.


You're never too old for play dough!


With thanks to: ThisandthatfromJapan Please check out her store for some really cute fabrics, great books and wonderful craft kits.

Sunday, 31 October 2010

Beware the cookie monster

I have been so tardy, I'm really sorry! Lots has happened since my last post, I went on holiday, I finished the mother of all projects at work and I got engaged. So have been trying to plan a wedding in another country. For Feburary. This coming Feburary. No pressure.

Apparently I need a "certificate of no impediment" in order to get married, which basically just says I'm not realated to my OH or married to some other poor unsuspecting person. Once I have my certificate, I need to take it to Germany so OH can prove I'm not related to him and I'm not married to someone else. Then I can send the whole lot to the authorities in Finland who will do exactly the same thing. It's like one of those computer games, where you can't progress to the next level without collecting all of the relevant magic items. What could possibly go wrong?

Well, when I'm stressed out my default response is to bake cookies. People at work like it when I do this and often joke about spiking my coffee with things to keep me even more awake. But as I'm out of sugar in the kitchen, it looks like they are out of luck this time and it's back to the craft table to keep myself distracted.

In my stash of bezels that Angela kindly supplied me with - I have some square ones that look like this:


I have made a map square using one of my other square ones, but I didn't bother to post the make as there is only so much identical resin work that I can pass off as novel. But the thing itself looks like a teeny tiny baking tray to me.

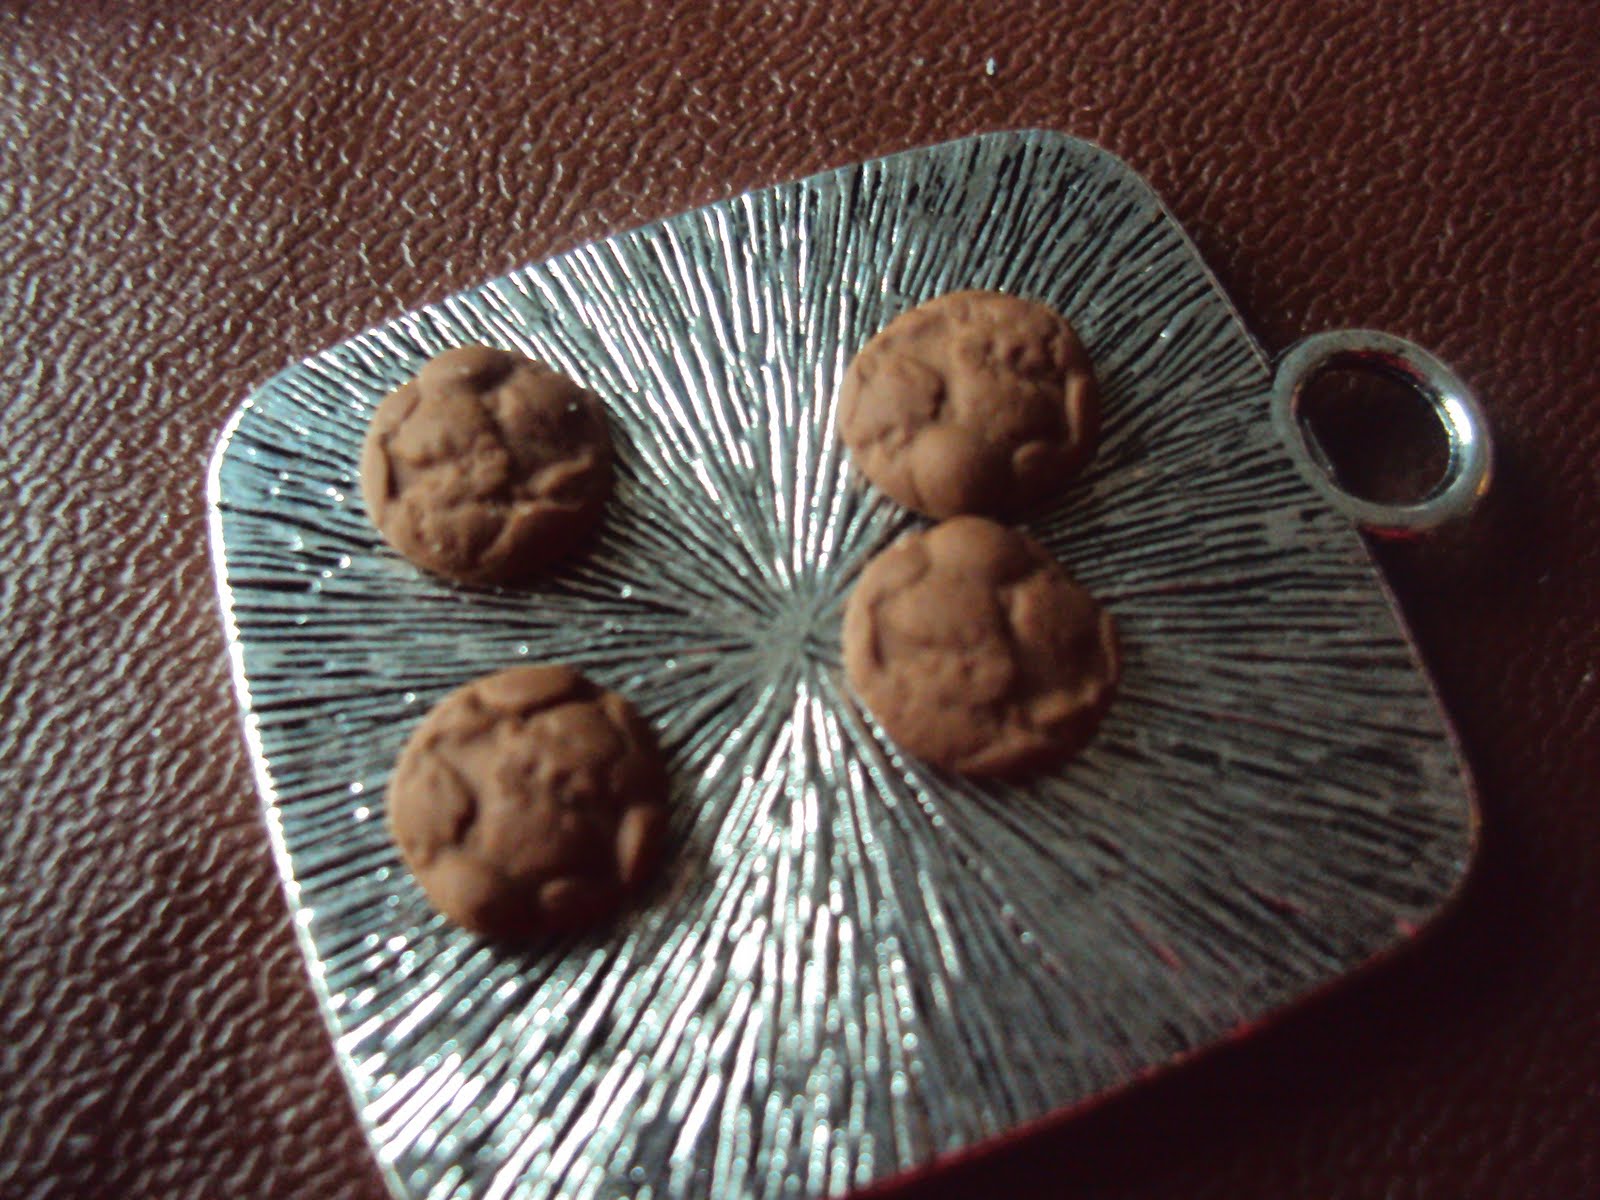
I have hundreds - literally hundreds of these little silicon moulds which I use for making kawaii sugary things. This one makes a cookie about a cm in diameter.


That's too big for what I want to do with it, but you can use the inside in the same way as you would use a texture mat. Tiny ball of clay first...


... then just press it onto the inside of the mould so it picks up the imprint from the inside.


I can repeat this a couple of times to make some teeny cookies. As long as the clay ball is about the same size, the final product should be too.


I've just used one of my sugarcraft cutters to nip a bite out of one of them.


I've used a small snowflake cutter here as I can't seem to find the lily of the valley one I normally use for bite marks, but anything that leaves a small enough imprint will be fine.


Baked in the oven until done and they are ready to glue onto the bezel. I've used E6000 glue here as it's really strong and will bond things to metal, but any craft glue should be fine as the cookies are so tiny and light.


Cookies on the tray! I've added a few tiny tiny crumbs of brown polyemer clay around the bitten one.


3D fabric paint is great for adding mock icing to things. I like this stuff especially as of all the brands I've tried it dries really fast and leaves a nice non-tacky finish. Icing the cookies...


...adding a little bit of fake sugar. This stuff is actually small shards of plastic, but it looks like sugar sprinkles and sticks neatly in the paint.


And we're all done.


Cookies in the absence of real sugar! I guess I better get back to my paperwork!