Sunday, 31 October 2010

Beware the cookie monster

I have been so tardy, I'm really sorry! Lots has happened since my last post, I went on holiday, I finished the mother of all projects at work and I got engaged. So have been trying to plan a wedding in another country. For Feburary. This coming Feburary. No pressure.

Apparently I need a "certificate of no impediment" in order to get married, which basically just says I'm not realated to my OH or married to some other poor unsuspecting person. Once I have my certificate, I need to take it to Germany so OH can prove I'm not related to him and I'm not married to someone else. Then I can send the whole lot to the authorities in Finland who will do exactly the same thing. It's like one of those computer games, where you can't progress to the next level without collecting all of the relevant magic items. What could possibly go wrong?

Well, when I'm stressed out my default response is to bake cookies. People at work like it when I do this and often joke about spiking my coffee with things to keep me even more awake. But as I'm out of sugar in the kitchen, it looks like they are out of luck this time and it's back to the craft table to keep myself distracted.

In my stash of bezels that Angela kindly supplied me with - I have some square ones that look like this:


I have made a map square using one of my other square ones, but I didn't bother to post the make as there is only so much identical resin work that I can pass off as novel. But the thing itself looks like a teeny tiny baking tray to me.

I have hundreds - literally hundreds of these little silicon moulds which I use for making kawaii sugary things. This one makes a cookie about a cm in diameter.


That's too big for what I want to do with it, but you can use the inside in the same way as you would use a texture mat. Tiny ball of clay first...


... then just press it onto the inside of the mould so it picks up the imprint from the inside.


I can repeat this a couple of times to make some teeny cookies. As long as the clay ball is about the same size, the final product should be too.


I've just used one of my sugarcraft cutters to nip a bite out of one of them.


I've used a small snowflake cutter here as I can't seem to find the lily of the valley one I normally use for bite marks, but anything that leaves a small enough imprint will be fine.


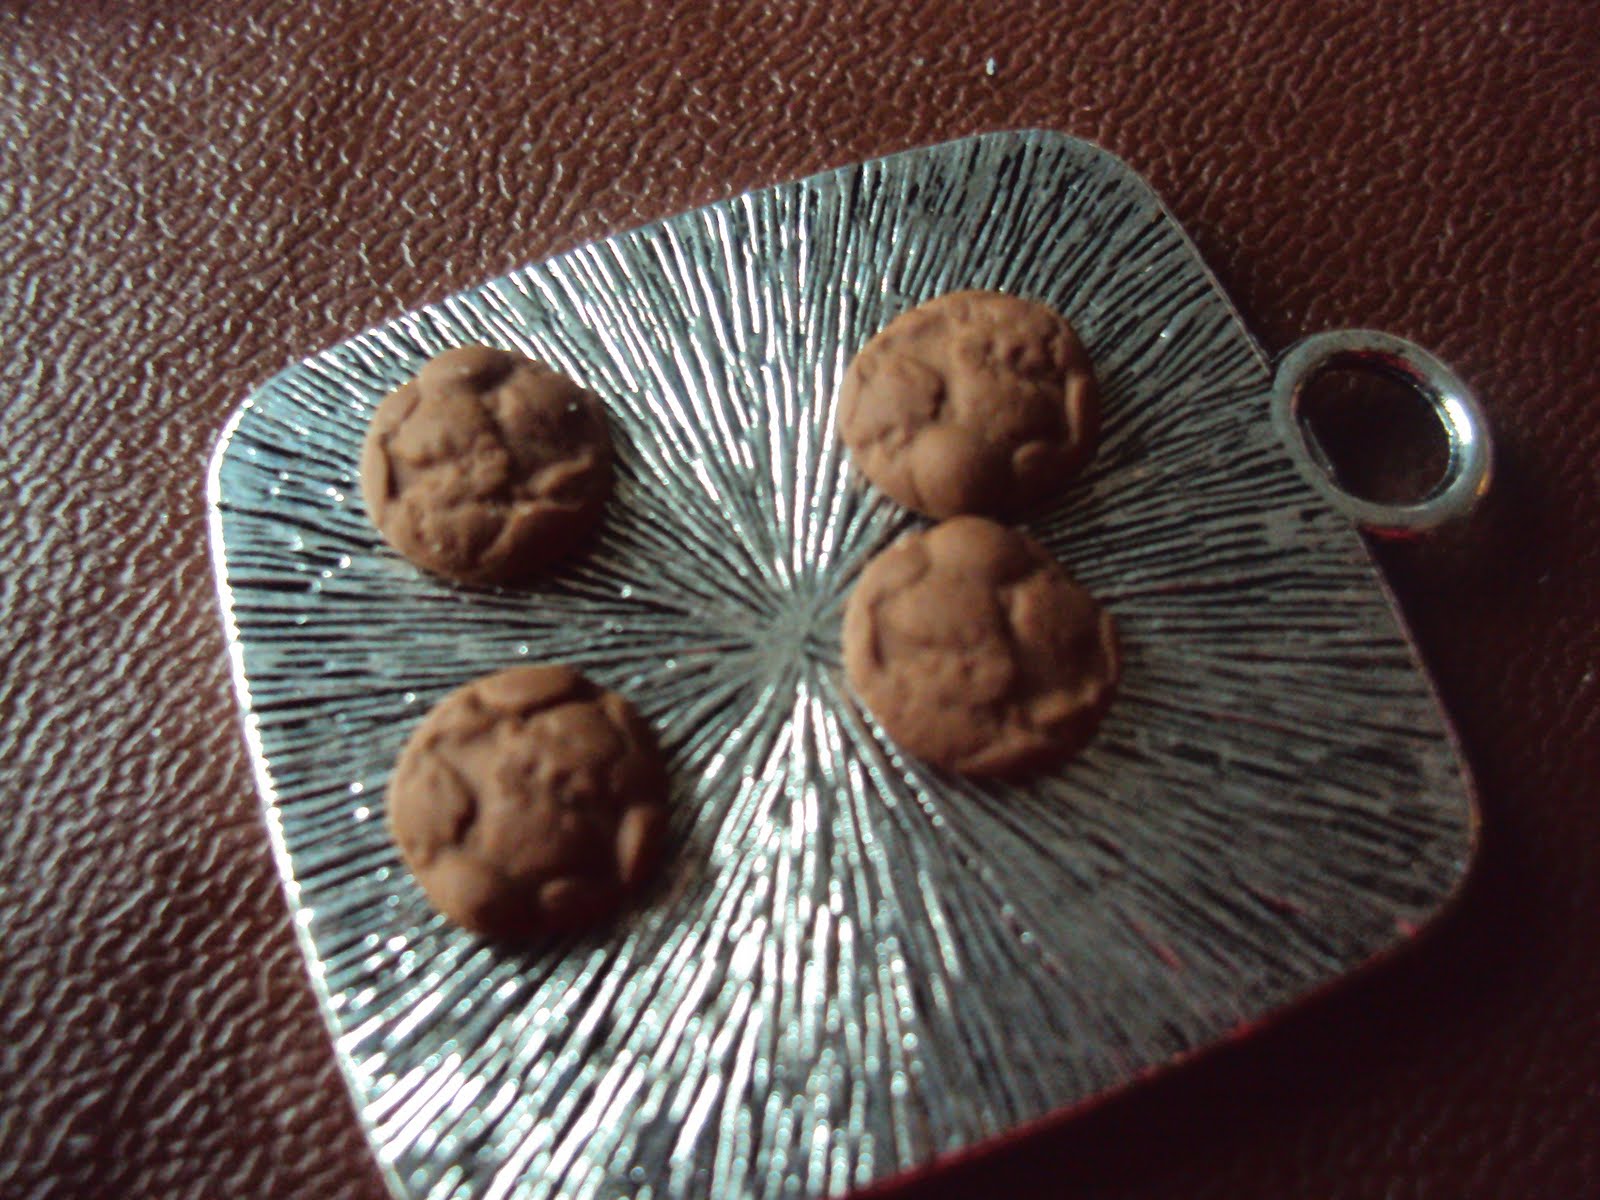
Baked in the oven until done and they are ready to glue onto the bezel. I've used E6000 glue here as it's really strong and will bond things to metal, but any craft glue should be fine as the cookies are so tiny and light.


Cookies on the tray! I've added a few tiny tiny crumbs of brown polyemer clay around the bitten one.


3D fabric paint is great for adding mock icing to things. I like this stuff especially as of all the brands I've tried it dries really fast and leaves a nice non-tacky finish. Icing the cookies...


...adding a little bit of fake sugar. This stuff is actually small shards of plastic, but it looks like sugar sprinkles and sticks neatly in the paint.


And we're all done.


Cookies in the absence of real sugar! I guess I better get back to my paperwork!

Wednesday, 8 September 2010

Travel files - Korea

Yet more holiday photos from the last year. Well, I say holiday, I mean work.


One day I will go somewhere that doesn't have a conference attached to one end of it, but at the moment, I'm just enjoying the ride.

Monday, 6 September 2010

The one with the wedding cake

I apologise for the intermittent blog service; I think I've just hit my limit when it comes to emergency baking...

This is a 9 inch single tier wedding cake. I made it last week and then spent the two days trying to get it to absorb as much firewater as it will take. Anyone who's ever made a vodka water melon at short notice will understand.


Then I marzipanned it and iced it. I was going to take photos, but I was so wrapped up in the project I couldn't even take a decent shot at the end. It's iced in ivory fondant, dusted with pearl lustre powder and finished with white royal icing and gold and ivory organza ribbons. The spray is made from sugar stars, sugar hearts, real pearls and gold glass beads held onto white florist wire with jewellery making crimps.


I have developed a new love of pearl lustre powder, it's awesome. It hides everything. Okay, so it makes me look like I've been clubbing with a load of underaged kids, but I can live with being shiny for a couple of days.

I think I need a holiday!

Tuesday, 24 August 2010

The rhythm of my heart

I have been having fantastic fun with these heart shaped bezels and resin, so I thought I'd try out mounting something other than watch parts.

This is an old copy of a depressing piece of choral music that I retrieved from a room being cleared out at work. I'm normally a bit funny about cutting up things like this, but as it damaged beyond repair and destined for the recycling, I don't feel too bad about it.


I can cut out a shape to fit my bezel using a craft knife and trim the edges in so it fits.


One thing I found out the hard way is that resin eats paper. It makes it go transparent. One way of stopping this is to give the piece to be set a quick coat of PVA glue before applying the coat of resin.


In this case, I've left a few spots clear of glue because I want to make the paper look older but I've coated most of the surface. As I don't want to see the bezel underneath, there are actually three paper heart shapes underneath this one, so even when it does go transparent I should see faded ageing paper rather than shiny silver.

These bezels take about 3 mL of resin, so I'm only making up a small volume here.


Applying the resin and resisting the urge to poke it for what seems like an eternity and you get this. The one on the left has three layers of paper and looks much older than the one on the right - which just has one and has been fully sealed.


This screams gothic to me, so I'm just finishing it of with some dark ribbons and a Czech glass bead to add a bit of sparkle.


Huge thank you to Angela for feeding my new found craft obsession! - her Folksy shop A Bead Cornucopia is here, and she has lots of these wonderfully deep settings in different shapes.

Monday, 16 August 2010

Comparing the meerkats

I don't often post things about my day, mainly because I don't think you'd believe me, but this was the highlight of the goings on in my world today.

"Sarah, can you order me a meerkat garden sculpture?"

I have just been given the dubious task of buying a plastic meerkat as wedding gift. This is not going to end well, I can feel it. I just don't know what to look for in a meerkat.

*sighs*

Tuesday, 10 August 2010

Made up of wires

Whilst I was fiddling about with the new stash of watch parts, I thought I might try out a slightly different steampunk style make.

Steampunk art, for the most part, involves making something new from something old; often with a touch of the fantastic thrown in for good measure. What it doesn't normally involve is making something modern from something else modern but at the end of its useful life. So that is the focus of this little project. Let me introduce you to one of the reasons I love my PC. This is an ipod shuffle. It doesn't work any more. I went to switch it on one day and it just stopped, no warning, no signs, nothing. Just nothing. To be fair, I've had it years, it's been mightly punished, so it's done well considering the life it's had.


But the frustrating thing is that I don't know why it doesn't work any more as I can't open it to try and fix it. Like most bits of modern machinery, and modern cars for that matter, it is difficult to play with. Although the design is beautiful - and it really really is, it irks people like me who want to see the insides. I want to see how it works.

As this thing it can't be fixed I might as well try and make something out of it. Step one. Disassemble; using such subtle tools as a hammer and a penknife. This isn't an easy task as it's really designed not to be undone. Eventually however, it becomes this.


I'm getting the resin out again, on account of electronic parts not actually being nice things and because I think the smoothness of a resin finish will actually suit what I want to make.


Luckily, the interior board fits very neatly into the rectangular wells on these moulds.


Sticky goo and the usual treatment for burns. I'm suprised I still have fingerprints some days.


I do find when I drop things into resin that I often get tiny gas bubbles appear on the surface. I don't mind in this case as I think the semi-dissolving look suits what I'm doing. You can reduce this effect it by coating the top layer of the object to be inserted with a thin layer of resin first if you want fewer tiny bubbles. It's dry after about 24 hours and just pops out of the mould.

Shearing off the back again to remove that lip you get when resin cures and shrinks a little bit.


I've used a series of tools here - my favorite little spiky wheel and a couple of different polishing tools to smooth off the edges.


Drilling a series of small holes in the top of the pendant. I admit, I screwed up here - the phone went as I was doing this and I shoved the drill down too hard - burring the surface a little around the entry point. I was always taught in tech class at school to drill things like this from the reverse - and now I know why. It's not drastically noticable and I can probably polish it out with a bit of elbow grease.


I don't actually have a pendant bail that will fit over this, so I'm using three silver coloured ball end head pins. I also wanted to add a little of the outer housing to the bail for fun. This is the centre part of the clicky wheel thing - it has a hole drilled in it. It didn't want to play ball and I do have a small burn now because of it - in the end I went low-tech and used a nail and tack hammer to finish the job.


I can connect this in with some head pins - and I've added a few seed beads to match the colours.


Twisting the wire in place and adding some jump rings gives the final product.


I think I might see if I can find a proper bail at some point - but it's a start.

Tuesday, 3 August 2010

First impressions

Crafting is a lesson in creativity, it allow me freedom of expression...

...which is why I've spent this evening drawing an anime style picture of one of my male collegues dressed in drag. Every time we have a birthday at work, he draws a caraciature in the card - and so we have decided that it's time we all got our own back and we each have to submit a picture...

My drawing is *so* dodgy I can't even post it on here. To be fair, the halloween costume from which I took my inspiration was even more dodgy, so I didn't have much to start with. But when I dragged out my drastically underused coloured pencils, it made me wonder if there was a better way of storing them than the plastic bag they live in under the bed.

I think the other thing that crafting does is it stops me throwing things away that might be useful. I get to the point where I walk past skips and think "wow, if I sanded that down and restained it - it would look great". On a slightly smaller scale, I have this - which used to have hot chocolate in it and doesn't any more.


And I still have a massive stack of these left too.


I can cover the tin with some filler I had left over after repairing the hole in the hallway wall last week.


And pressing the tiles in...


keep going...


Quick wipe over once it's dry and that's it.


Hopefully it won't encourage any more deviant art.