Showing posts with label make. Show all posts

Tuesday, 10 August 2010

Made up of wires

Whilst I was fiddling about with the new stash of watch parts, I thought I might try out a slightly different steampunk style make.

Steampunk art, for the most part, involves making something new from something old; often with a touch of the fantastic thrown in for good measure. What it doesn't normally involve is making something modern from something else modern but at the end of its useful life. So that is the focus of this little project. Let me introduce you to one of the reasons I love my PC. This is an ipod shuffle. It doesn't work any more. I went to switch it on one day and it just stopped, no warning, no signs, nothing. Just nothing. To be fair, I've had it years, it's been mightly punished, so it's done well considering the life it's had.


But the frustrating thing is that I don't know why it doesn't work any more as I can't open it to try and fix it. Like most bits of modern machinery, and modern cars for that matter, it is difficult to play with. Although the design is beautiful - and it really really is, it irks people like me who want to see the insides. I want to see how it works.

As this thing it can't be fixed I might as well try and make something out of it. Step one. Disassemble; using such subtle tools as a hammer and a penknife. This isn't an easy task as it's really designed not to be undone. Eventually however, it becomes this.


I'm getting the resin out again, on account of electronic parts not actually being nice things and because I think the smoothness of a resin finish will actually suit what I want to make.


Luckily, the interior board fits very neatly into the rectangular wells on these moulds.


Sticky goo and the usual treatment for burns. I'm suprised I still have fingerprints some days.


I do find when I drop things into resin that I often get tiny gas bubbles appear on the surface. I don't mind in this case as I think the semi-dissolving look suits what I'm doing. You can reduce this effect it by coating the top layer of the object to be inserted with a thin layer of resin first if you want fewer tiny bubbles. It's dry after about 24 hours and just pops out of the mould.

Shearing off the back again to remove that lip you get when resin cures and shrinks a little bit.


I've used a series of tools here - my favorite little spiky wheel and a couple of different polishing tools to smooth off the edges.


Drilling a series of small holes in the top of the pendant. I admit, I screwed up here - the phone went as I was doing this and I shoved the drill down too hard - burring the surface a little around the entry point. I was always taught in tech class at school to drill things like this from the reverse - and now I know why. It's not drastically noticable and I can probably polish it out with a bit of elbow grease.


I don't actually have a pendant bail that will fit over this, so I'm using three silver coloured ball end head pins. I also wanted to add a little of the outer housing to the bail for fun. This is the centre part of the clicky wheel thing - it has a hole drilled in it. It didn't want to play ball and I do have a small burn now because of it - in the end I went low-tech and used a nail and tack hammer to finish the job.


I can connect this in with some head pins - and I've added a few seed beads to match the colours.


Twisting the wire in place and adding some jump rings gives the final product.


I think I might see if I can find a proper bail at some point - but it's a start.

Thursday, 22 July 2010

Deus ex machina

I had a little bit of extra resin left over from my last project, so I thought I'd do more of the same and cast another small object rather than throw it away. The photos for this make were taken at the same time as the ones for the heart pendant, so I apologise in advance if you get an odd sense of deja vu; I promise I'll try something other than a miniture version of scrapheap challenge soon!

The resin moulds I acquired ages ago haven't acually had a great deal of use other than for my first little resin attempt (the one with the angry piranhas), so I thought it might be nice to give them another shot with some of the spare bits. I want to make a keyring out of the finished piece, so I'm just dropping some of the watch parts into the bottom of the shape.


I've chosen a selection of cogs here, rather than the random parts I used in the last pendant. I really like these cogs - I was toying with the idea of making them into a bracelet but they are a teeny weeny bit sharp for that. Actually, that's an understatement. I could arm an entire legion of micro ninjas with them.


I want them to settle in the centre of the heart rather than be evenly dispersed as I think the curvature of the cogs goes well with the curvature of the pendant and I like the slightly disorted effect. This also means I don't have to layer up resin to get them in the middle.

Filling with pre-mixed liquid stress and leaving it to set. It did come out of the mould eventually - I left it 36 hrs before I touched it. I forgot to coat the inside of the mould this time, so I consider myself lucky that it came free.


Sanding off the back... I'm using a tiny toothed wheel here - not sure what it's called, but it seems to bite well into the resin and allows me to shear off the slightly raised edges you get as the resin shrinks slightly when it dries.


Drilling a hole to take the findings - this is just a 1 mm diameter drill bit; but it's wide enough for the jump rings I use normally.


and adding the clip, connected in with a couple of jump rings...


All done.

Tuesday, 20 July 2010

Going Postal

I do occassionally redeliver letters to the right address on my way to work; but now I'm getting doorstepped parcels. Three in a week. One left with a neighbour, but the other two left wedged under the door knocker; so suspended 2/3 of the way up on the front door of the flat. Once again, I'm told that such complaints are taken very seriously - and that they handle a large volume of mail, such incidents make up a very small proportion of the total mail handling capacity. Well, thank you. That makes me so relived to know I'm taking one for the team in being the constant crappy outlier in your vast data set.

However, I did get back in one day last week to find a lovely package on my door mat. The nice thing about ordering art supplies is that, for someone like me who works in miniture most of the time, they are small. Small fits through the gap in door most of the time - sometimes not it seems; but that's a whole different rant.

I have these, which was pretty impressive given I only ordered them a few days ago. Since my last resin project, I've been looking for receptacles like these for ages.


As much as I like the resin moulds from the evil PMC website (more of that to come later once the burns heal), sanding things is one of my least favorite jobs, so anything I can do to avoid that is a good thing. In addition, one of the things I worry about with steampunk art is how sharp it can be. I lose count of the number of times I've inserted small cogs under my fingernails or into my top layer of skin by accident. If I ever got abducted by aliens, they'd think I was manufactured in Switzerland.


I spend hours painstakingly flatting parts so they are smooth and sanding off rough edges, coating things in varnish and adding backs so they don't catch on things. So that's another reason these sorts of settings, little glass vials and tiny boxes appeal. They help stop the sharpness.

This is crystal resin; I've had it ages and the packet basically consist of two bottles of stuff that will remove the top layer of your skin. They get mixed two parts resin (big bottle) with one parts hardener (little bottle) to create a mixture that also burns.


It's been a while since I last got the resin out, but this time I'm armed with some graduated plastic dropping pipettes and a set of disposable shot glasses; which hopefully should make the combining part a little bit easier.


I can spend ages fiddling about with cogs and bits, so I've just selected out some parts that will fit into my setting.


Just before I start arranging things, I'm going to add a little bit of resin intothe bottom of the setting - this really is to stop things sliding about as I place them and also to make sure that there isn't any air bubbles underneath the cogs.


Staring to place objects...


adding more resin to cover them..


Resin doesn't dry that fast, so after 24 hours, it was solid enough to handle without it dribbling liquid burn juice all over my fingers.


And that's it. I will probably hang this on a black or scarlet ribbon rather than a chain, as it sort of fits in a bit more with the V&A meets Rocky Horror theme of these sorts of pieces. Only another two kilos of watch parts to go if you have any ideas!

Friday, 9 July 2010

The best laid plans of sugarmice

I have been trying to be good and take lunch to work each day rather than defaulting to the sandwich shop or just eating crisps. Sadly, as I couldn't organise an alcohol fuelled party in beer production facility at the moment, these plans have gone a bit astray.

Take today. I packed: three bananas, a can of coke and a box of noodles with stir fried veg and tofu (leftovers from last night). By the time I'd got to work, the box had split, stuff had gone everywhere, the bananas looked like someone had stamped on them and the internal pressure of the can of coke could have razed an atoll in the Pacific. So it was falafel and houmous on olive ciabatta *again*.

Well, I managed to salvage my bag - which is currently in the wash, none of the papers were that important and my cheque book is drying nicely on my desk fan and fluttering about like - well - chequebook shaped bunting soaked in chilli sauce.

I now have these bananas, which I can't eat as they are brown. I only eat bananas when they are green. Green = good. These are not good. Bananas amaze me. I hit traffic lights on my way to work that change colour more slowly than these things. I am assuming they do it to protect themselves from their natural predators.


The don't look that bad once they are all peeled and chopped up though. I was pretty sure they'd be damaged on the inside after all the trauma they've been through.


8 oz of soft margarine, 7 oz of sugar - beaten lightly until sort of homogenous. Not too much, don't have time for all that Delia stuff.


Four eggs.


8 oz of self raising flour, 1 tsp of cinnamon, 1 oz of dark sugar, 1.5 oz of porridge oats, tsp of baking powder.


Add chopped, and somewhat traumatised, bananas.


Muffin cases - this mix makes about 18; fill about 2/3 full and shove into the oven at 180 degrees for about twenty minutes.


Look a bit like this when they are done...


I don't frost these, but a little bit of grated chocolate works fine as a topping


Mmmm... warm damaged banana muffins :)

Wednesday, 7 July 2010

Beside you in time

I was thinking yesterday exactly where my time goes and realised that half (well, most) of my problem is that I absorb things. If you look at my project set at work, I currently have some extra data sets from an old colleague whom I still work with off and on, a data set I picked up from my boss as he had needed another pair of hands, a synthesis for somebody upstairs and a seventeen step synthesis for someone in my group. This is on top of my normal day-to-day work, which at the moment involves growing viruses, messing about with things I know nothing about and trying to write the usual pile of crappy reports.

My work life balance toppled over a long time ago and I never managed to stand it back up again.

So the theme of this make therefore is time. I adore steampunk style things for so many reasons; the intricate parts of machinary put on display as art and the fact it's a testament to the power of upcycling.

I do quite a bit of this style of artwork for my own personal amusement but don't list it for sale as my own shop is full of tiny kawaii sugary things. This amuses most people that know me, as I actually lean more to the gothic side of art and fashion myself and what I make to sell doesn't suit me at all. Black suits me; frills do not. I'm not exactly the anti-kawaiist when it comes to my wardrobe, but I'm close.

I have these after a late night last minute caffeine fuellled ebay snipe. They used to be watches and they aren't any more.


I've made vial necklaces before on this blog, but I think they would work very well to use up some of the tiny watch parts I can't really solder to larger things without injuring myself; so this make is a bit of a repeat of the previous one with the plastic fish. I do apologise for my lack of orginality at the moment, I don't have as much time as I'd like thanks to a long running and very dull experiment which has been feeding on my life force and pile of paperwork so large mountain goats have colonised the top.

I'm using another of the little round glass vials - mainly because they look like lightbulbs and that fits with the industrial look.

Adding small watch parts to the vial.


I like these little clear glass pellets, so I'm going to add a few of them in too. Once they are underneath the oil you can't actually see them, so they give the impression that some of the watch parts are suspended in the middle of the vial rather than are stuck at the bottom.


Filling the vial with oil, capping and gluing shut gives me this; I've added another large cog on a jump ring too and connected it to a fine silver chain.


Now I have time, literally :)

Wednesday, 30 June 2010

Tick-tock Clarice

I admit it, I'm procrastinating.

I'm buried under biochemistry questions, chemistry questions, trying to sort out bits of broken equipment that have forced my work to a halt and my quarterly industry report is due on the desk of a guy in the US first thing tomorrow morning.

I have a long running experiment on the go that needs five hours of prodding every day until the virus capitulates and stops being infectious. It's been a week now of 6 am starts and it's still sulking and refusing to give in. I have 23.6 g of impure yellow slime on my desk waiting to be purified and turned into something that has to be pure enough to soak into a protien crystal. I'm racing the crytallographer on this one; and he has protein clean and trays put down so it's looking like a close run thing. I need to chase a chemical company as I'm running out of silica gel and triflic anhydride. I need to pull some data of the HPLC and analyse it before my boss gets back. I'm on autoclave duty. I have been running about like a gazelle on steriods all day; powered by a cocktail of caffiene and sugar. No pressure.

So what am I doing now?

Stalking some craft stuff on Ebay and making cake. I have the concentration span of a slightly mad goldfish at the moment and I can't settle so I need to relax a bit. This is my default "No way am I making your middle tier sponge, I'll make a seperate one and we can hide it in the kitchen" wedding cake - the sponge that noone sees that appears in bits at the end of the night when everyone has had too much to drink.

I have some lemons. I bought them to make cake with last week and forgot about them. I need to use them pretty sharpish as they aren't coping in the heat - normally I just buy fruit, put it in the fruitbowl and watch it decay but today I'm going to be good and make an effort. There are four here, so I'm removing the zest and juicing them. I tend to keep the zest and juice separate as I don't like bits of zest on the top of the cake all that much, but it's a personal thing.


Butter - 140 g butter, warmed gently so it's soft - or just accidently left out on the side all afternoon in this heat!


Sugar - 250 g of sugar. Normally plain white sugar for this cake, but I'm using half-half white and light brown today as that's what I have at the moment. It honestly doesn't matter; the darker the sugar you use, the darker the final cake will be.


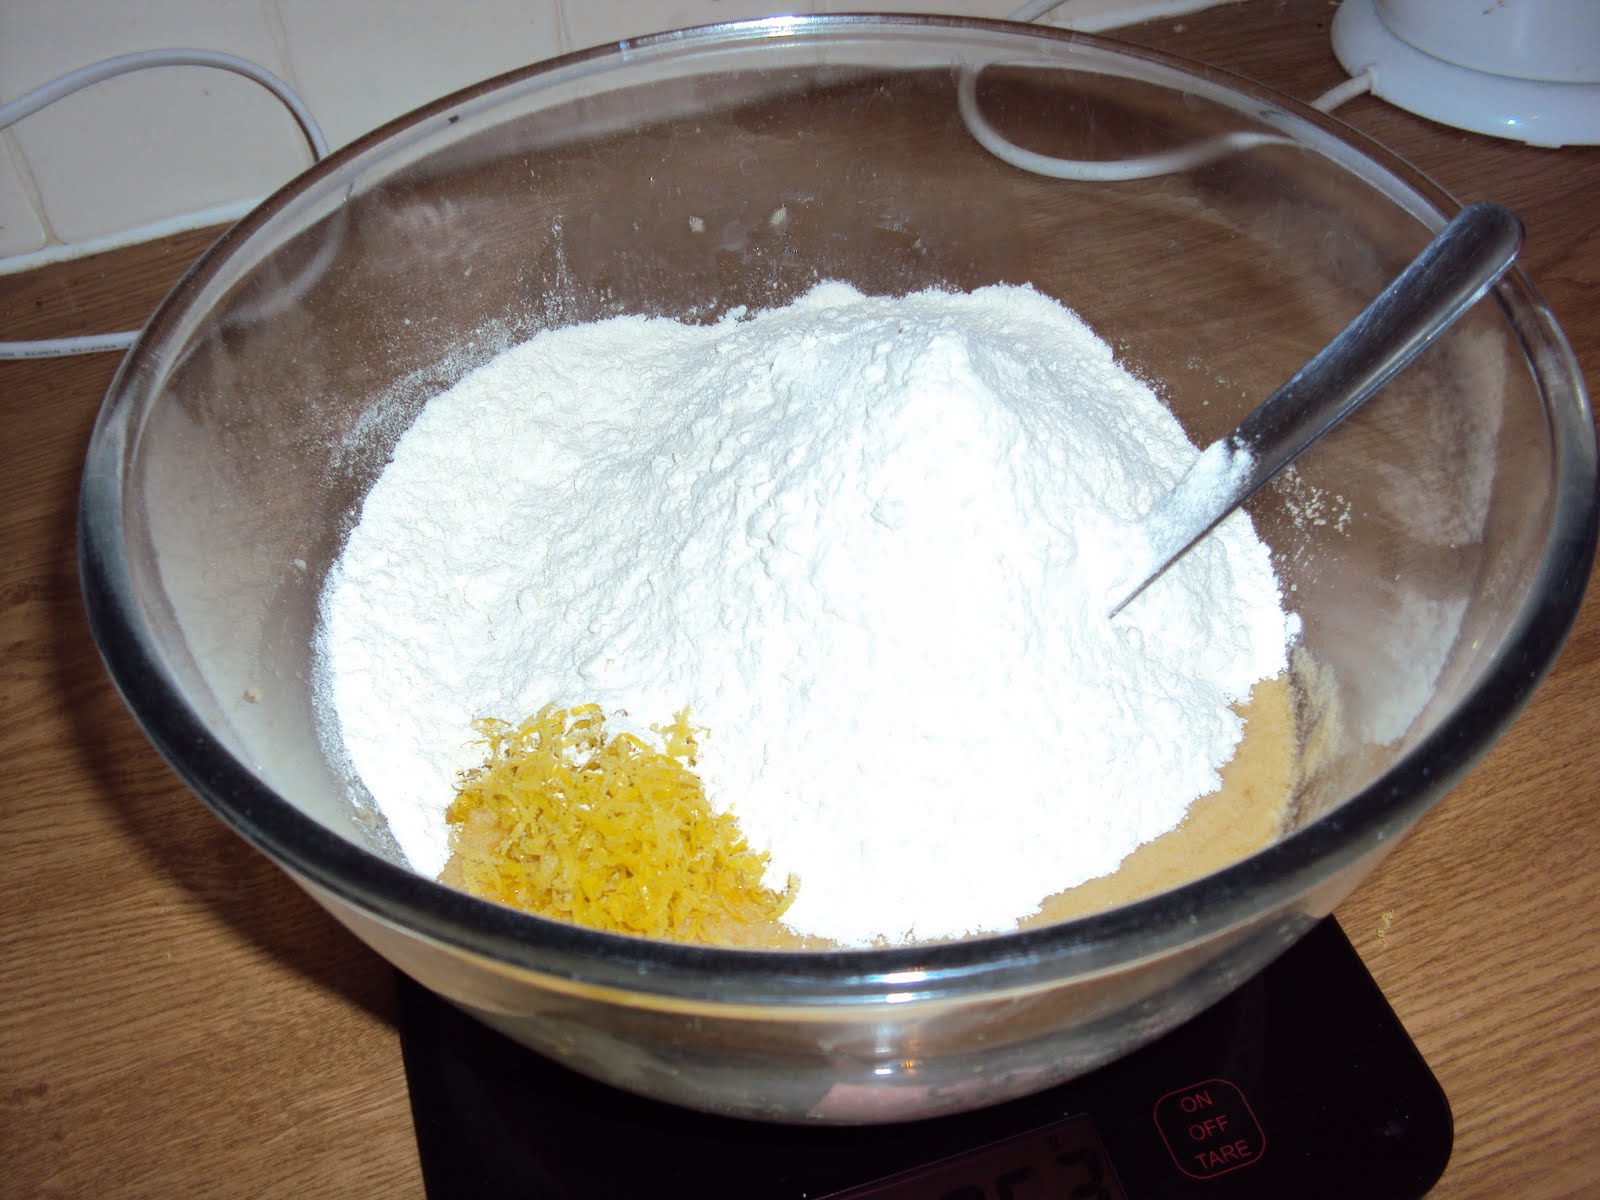
Eggs - two plus and two extra yolks, lightly beaten as usual. This receipe came about as a way of using up excess egg yolks after a pavlova fest, so that's why it's an odd number. Add the lemon zest and beat hard until smooth.


280 g of self raising flour with 1 tablespoon of baking powder thrown in.


Add about 3/4 of the lemon juice into the mix and beat really quickly. Once again, the cake mix is a bit sloppy at this point, but don't worry, it's meant to look like this!


Cake form - this mixture seems to work best as a thin layer in a shallow tin - normally I cook it in a swiss roll tin and make up layers. It doesn't rise very much so thicker layers in loaf tins just end up dense; fine for sculptural work and (hiss spit) people who *insist* that middle tier has to be sponge, but not good for light fluffy cupcakes. Today I'm using a square muffin tin, but cupcakes work fine. This mix will make about 24 cupcakes.


This is one cake I don't tend to grease the pan for or use cake release. As much as the stuff is supposed to be tasteless, I can taste it and I'm not going to frost these so there will be no way of hiding fried edges. You might think that life is too short to individually line each well. I would argue that life is too short to wash this tin.


Mixture goes in...


...the oven at 160 degrees, until a skewer comes out clean - about an twenty minutes, but it will vary depending on your oven and your cake tin. Watch it closly as it will catch.


I tend to leave them to cool in the tin a bit, with a cloth over them to keep the moisture in.


These are little sugar crystals. I end up with boxes of these as every time the out-laws descend on us as they always bring them with them. I'm not sure why. I'm assuming they are some Germanic bartering tool I do not understand the value of. We do have sugar in this country last time I checked but these make an okay (totally optional) topping for this particular cake seeing as I haven't got the faintest idea what else to do with them.


Crush lightly, throw a tablespoon of limonochello on them and sprinkle over the cake then drizzle a mix of 20 g of sugar and the juice of the last remaining lemon over them and flick over icing sugar. About a teaspoon per cake works okay, they are quite light, so if you add too much, you will be eating them with a spoon. I prefer this topping to frosting for lemon cake, but this cake works nicely with a light glace if you want it iced instead or with lemon curd.

Woo hoo, work avoidance cake!


Better throw my report together; at least he's six hours behind in the US so I've still got some time left before I get the reminder email. I am an ocean of calm...

And breathe...